Halloween Practice

I always like being able to make one set of materials and use it in multiple ways. Most of my kids used these Halloween cards to compose a rondo, but one lucky girl also used it to work on her current songs.

What You Need:

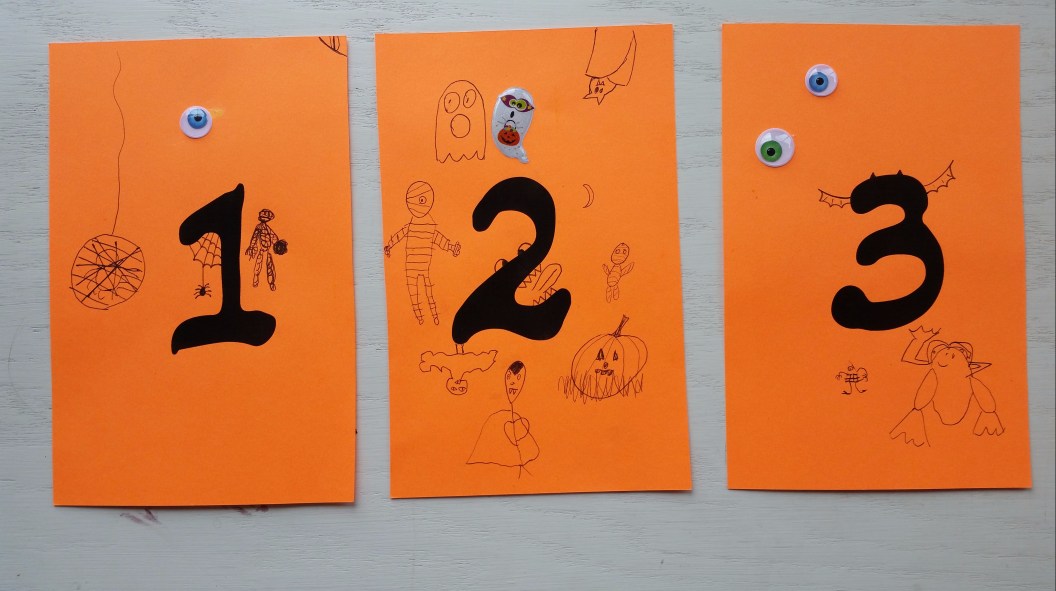
  • These Halloween cards, printed and cut (you won’t need the second page)
  • Dice
  • A mini pumpkin or anything else you can use as a playing piece
  • A list of Halloween jokes. I have a little book of jokes, but you could also use these, either printed out or just available on a device.

Setup:

  • Make a list of the pictures on the cards and assign them to things you need to practice. It’s okay to repeat, it’s okay not to use all the cards, and it’s good to include a few things in there that are more exciting. For example, here’s a sample list:
    • moon: current song, section A
    • raven: current song, section B
    • haunted house: current song, hardest phrase
    • jack o’lantern: current song, hardest phrase
    • skeleton: current song, hardest phrase
    • bat: review song
    • trick or treat bag: review song
    • cat: current scale or arpeggio
    • witch: current scale or arpeggio
    • spider: next step in the composition book
    • skeleton: Halloween improv duet
    • mummy: sing a Halloween song
    • ghost: sight read
  • Arrange the cards face down in a circle on the floor and place the pumpkin or playing piece on one of them.
  • Hide the jokes so the student can’t see them all at once.

How to Play:

  • Roll the dice. Advance the pumpkin that many cards, moving clockwise.
  • Flip the card. Spend a couple of minutes practicing whatever goes with that picture.
  • Keep the card just as it is and roll again, continuing the same pattern.
  • If you land on a card which has already been flipped over, you have earned a Halloween joke. Conveniently, the likelihood of getting a joke increases the longer you play.

20171031_085759.jpg

Performance Prep (Halloween Style)

Our fall recital is this weekend. On the last lesson before a performance, I always like to record the kids several times and watch it with them. It’s extra practice for them, but even more importantly, it gives them a good opportunity to analyze their own performance and talk about what went well and what still needs work. I find that students tend to fall into one of three categories:

  • Those who think their performance was perfect, when it definitely wasn’t.
  • Those who think their performance was terrible, when it was actually pretty good.
  • Those who stare at me blankly and have no idea what went well or what needs work.

When I listen to their analysis, I start to understand why their home practice isn’t always very effective. How can you make progress if you can’t tell what needs to improve? It’s definitely something we need to work on.

At any rate, we always need this to be a little fun, and here’s this year’s incarnation.

What You Need:

  • These Halloween numbers, printed on orange cardstock
  • Plenty of memory on your phone
  • A pen and/or Halloween stickers

Setup:

  • None

What to Do:

  • Talk about what Take One, Take Two, etc., means in movie-making. (Most of my kids didn’t know.)
  • Record Take One by starting the camera on the orange number One. The student can start playing at any point after that.
  • After Take One, ask for two things that went well and one thing they could improve. Many of them will need help with that.
  • Record Take Two and repeat the process. If there is time, record Take Three and Four. If not, stop with two.
  • Watch the recordings. When the student has determined the best take, allow them to draw or add a Halloween decoration to that Take Number.

By the end of the week, the kids are all playing well and my somewhat plain Halloween numbers had a lot of delightful additions. Most of my kids preferred to draw rather than using my googly monster eyes or Halloween stickers.

20171020_160946.jpg

Skeleton, Human or Monster? (How to Drill Anything)

This is one of my student’s favorite Halloween activities. We use it every year, which is the only reason I was willing to do all this cutting and laminating. This year I used it to drill rhythms, but it can be used for anything.

What You Need:

  • A giant skeleton, like this printable one here.
    • It will last longer if you laminate the pieces.
  • Flashcards for whatever you want to drill.

How to Play:

  • Ask the first flashcard. If the student gets it right, with or without coaching, they have earned one bone. The bones can be laid out on the floor as they earn them.
  • Some of my students want to create a human skeleton, so they need to go in the right arrangement. (The link above provides a helpful diagram.)
  • Most of my students prefer to get creative with a monster skeleton, in which case they place that bone wherever they feel like it.
  • Repeat.

Variations:

  • To make it go faster, award two or three or four bones per flashcard.
  • To make it go slower, award one bone for every second or third correct flashcard.
  • If you’re using rhythm cards, you can place two or three in a row for a multi-measure challenge.
  • If you’re using note cards, you can place two or three on the piano for a multi-note sight reading challenge.

20171016_145516


Monster Eyeballs (Note Review)

Here is a Halloween-themed way to review the notes while creating a decoration for your studio.  It’s sure to thrill kids. Except for my own daughter, who said it was creepy and she didn’t want to touch the eyeballs. Other than her, everyone loved it.

What You Need:

  • A set of monster eyeballs. These are available at dollar stores around Halloween.
  • A bag big enough to hold your monster eyeballs.
  • A clear vase, bowl, or other container.
  • Flashcards or a sheet of piano music.

Setup:

  • Before the lesson, use a permanent marker to write note names on each of the eyeballs.
  • Put all the eyeballs in the bag.
  • If you’re using flashcards, lay them out face up, but not in order.

How to Play:

  • The student reaches in the bag and draws out an eyeball.
  • The student then looks through the flashcards or sheet music and finds a note that matches the letter on the eyeball.
  • If they correctly find the match, the student can add the eyeball to the vase to add to your Halloween decorations.

Variations:

  • For pre-readers, have them play the note on the piano instead of looking for it on the staff.
  • For readers who haven’t yet learned all the notes, limit the flashcards to the ones they have learned. You may also want to use treble clef notes separately from bass clef notes.
  • For more advanced readers, use flashcards or music with lots of ledger lines, or you can require them to find not the note on the eyeball, but a note that is a third above that note (or a fifth or whatever).

20171010_102825

Remote Control (How to Drill Anything)

If I found this activity on someone else’s blog, I’d probably roll my eyes and move on. I would never, ever, ever go out and actually buy the equipment to make this work. But maybe you already have a remote controlled car or other such device. Or have a neighbor or friend with kids who’ve outgrown those toys. Or, like me, you could have an absolutely wonderful public library that let’s you check out a LEGO EV3 robot for free for two weeks. If those apply to you, some of your kids will love this activity. If not, just roll your eyes and move on.

What You Need:

  • A remote controlled car, truck, robot, or whatever
  • Painter’s tape
  • Sharpie
  • Flashcards or a list of whatever it is you want to drill
    • Flashcards could have rhythms to clap, notes on the staff to name, alphabetic notes to play on the keyboard, key signatures to identify, etc.
    • If you’re using this to drill sections of a song, the list is optional, depending on how sneaky you are. See below.

Setup:

  • Use the painter’s tape to create a track on the floor. Put in as many turns and intersections as you like.
  • Use the sharpie to write on numbers at turns, intersections, or really wherever you want. I used numbers one through twelve.
  • Test your device to make sure the batteries are working and you know how to use it. When you’re done, replace your device at the starting point.

How to Play:

  • The student gets five seconds (as counted by me) to drive the device to one of the numbers on the track. They do not have to go in order. Theoretically, they should stay on the track and not take off cross country, but if they do, it’s okay.
  • When the five seconds are up, choose the number they’re closest to. For example, let’s say they got to number four.
    • If you’re using flashcards, choose the fourth card in your stack. (Or the fifth, if they’re on number 5, etc.)
    • If you’re trying to drill sections of a song, choose the fourth measure, line, phrase, trouble spot, or section to work on for several minutes or play three times in a row, depending on what makes sense for the age and ability of your student.
      • If the song only has four phrases, but the car is at number six, just keep counting through the song again, so that 1 and 5 are the same phrase, 2 and 6 are the same phrase, etc.
      • If you want, you can assign some numbers to be brain breaks, such as an improv or play by ear activity. You can also skip over phrases the student already knows really well. This is where sneakiness comes in. You can either write all this out in advance so you’re consulting a list at each point, or you can write out nothing and just pretend to consult a list. Meanwhile, you really manipulate the activity so that they work on what you need them to work on and get a brain break when they need one, regardless of where the robot goes. None of my students figured it out.

20171002_140027